How to Setup Salesforce SPF and DKIM (New CNAME Version)
If you send emails out of Salesforce you have two options: you can have Salesforce email servers send the email or you can have Salesforce relay the email to your email server (Gmail, Exchange, Office 365).
Today's post will focus on the first option of having Salesforce send the email on your behalf. There are a number of reasons you might opt for this approach. For example, you may have sales people sending emails to leads and prospects, and you do not wish to hurt your email server reputation or deliverability if you are flagged for spam. Another example, may relate to volume. If you have a large service center sending out thousands of emails per day this may put a large load on your server, and instead may wish to use Salesforce's email server to send emails.

Why Setup SPF and DKIM in Salesforce?
When you have an external email sender, like Salesforce, send emails from email addresses that have your domain name it's important to setup SPF and DKIM. Otherwise, the person receiving the message will have the email flagged for possible spoofing in their inbox. How this looks will vary depending on the person receiving it. Some corporate email servers automatically delete incoming emails that appear to be spoofing while others send them to the spam folder.
How to Setup SPF and DKIM to enable Salesforce to Send Emails
Navigate to the Salesforce Setup menu and type in DKIM in the quick find. Click DKIM Keys.
Click Create New Key.
Choose your key size. For selector enter salesforce. For alternative selector enter sfdc. For domain enter your domain name, in my case, paulbfischer.com. For domain match, choose what makes sense. I only plan on sending from email addresses with @paulbfischer.com so I'll choose exact match. If you have email address with sub domains such as @salesforce.paulbfischer.com then you would choose exact domain and subdomains. Click save.
It will take a minute for Salesforce to do its thing, and generate some CNAME entries that you need to setup.
Give the page a refresh and you should see something like the image below.

Note: this is the new way that Salesforce does DKIM. It does not generate long strings for public and private keys like it previously did.
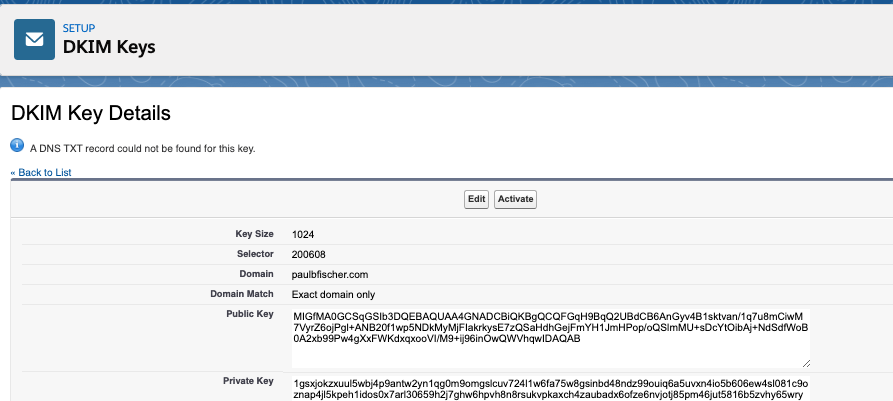
This is what DKIM used to look like in Salesforce.
6. Next, let's navigate to our domain name server (DNS) and go to the cpanel. In our example, I'll being using NameCheap.com, but you can use GoDaddy or wherever you have your domain hosted.
7. Before, we jump back to setup DKIM, let's quickly configure SPF. In your zone editor for your domain look for an existing TXT record that has a v=spf1 statement. If it you don't have one create one. If there's an existing one edit it. Add include:_spf.salesforce.com to the spf statement.

8. Now that we have SPF configured we'll configure DKIM. After all, we don't want any Salesforce org to be authorized to send emails from our domain, just our specific Saleforce org. Navigate back to Salesforce to the DKIM Key record. Copy the first part of the CNAME record line prior to "IN CNAME". Now, switch to your DNS and paste it in to the first row entry for your CNAME.
Go back to Salesforce and copy the 2nd part of the CNAME line--everything after "IN CNAME". Then switch back to your DNS and paste it in and click save.

9. Next, you have to wait. Your DNS needs to propagate these changes. When it does you'll notice the "Activate" button on the DKIM record is no longer greyed out! Click it!
We're now all set. Let's send a test email to ensure that emails we send out of Salesforce don't get tagged for spoofing.

That's all there is to it!
In a future post we'll look at DMARC and also an alternative way to send email out of Salesforce using email relay. Let me know if you were able to set this up, or if you have any issues!